Hello everyone, I am opening my first blog post with the sculpture process for collectors, 3d printing.
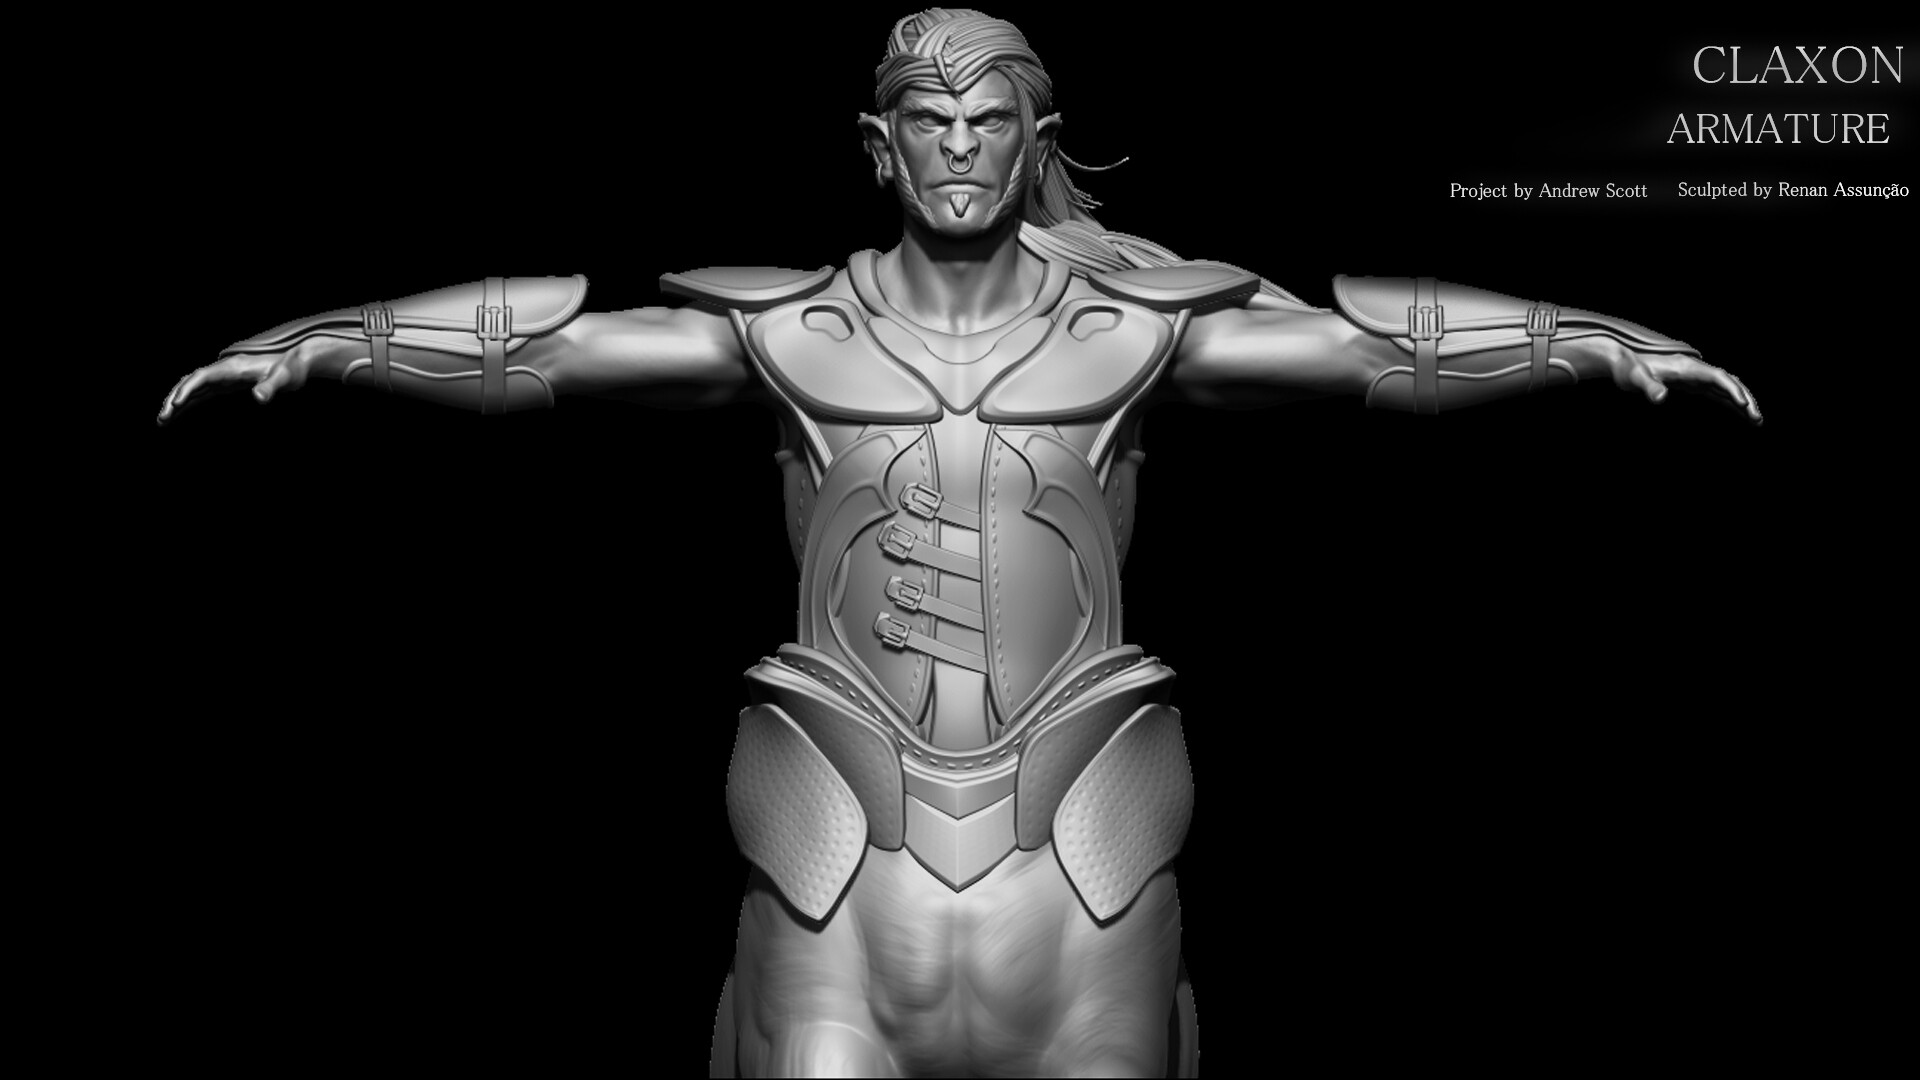
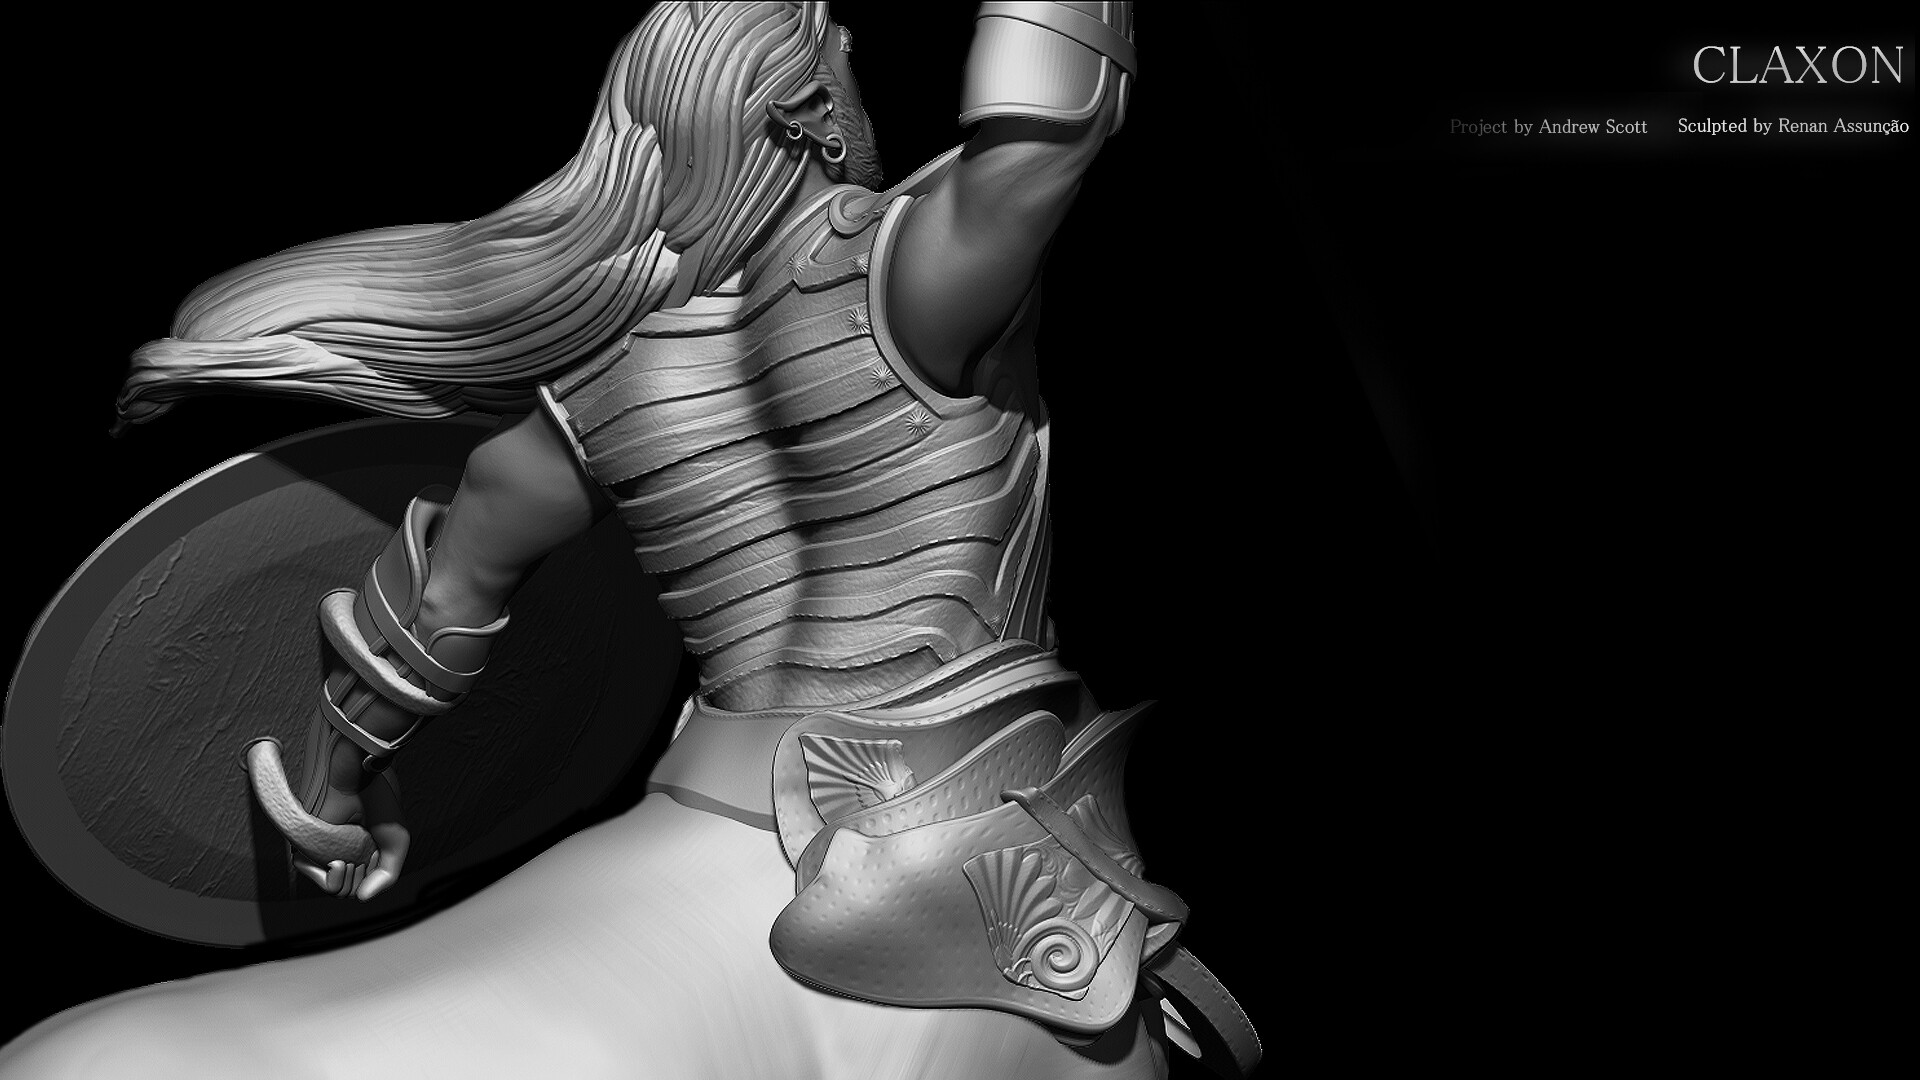
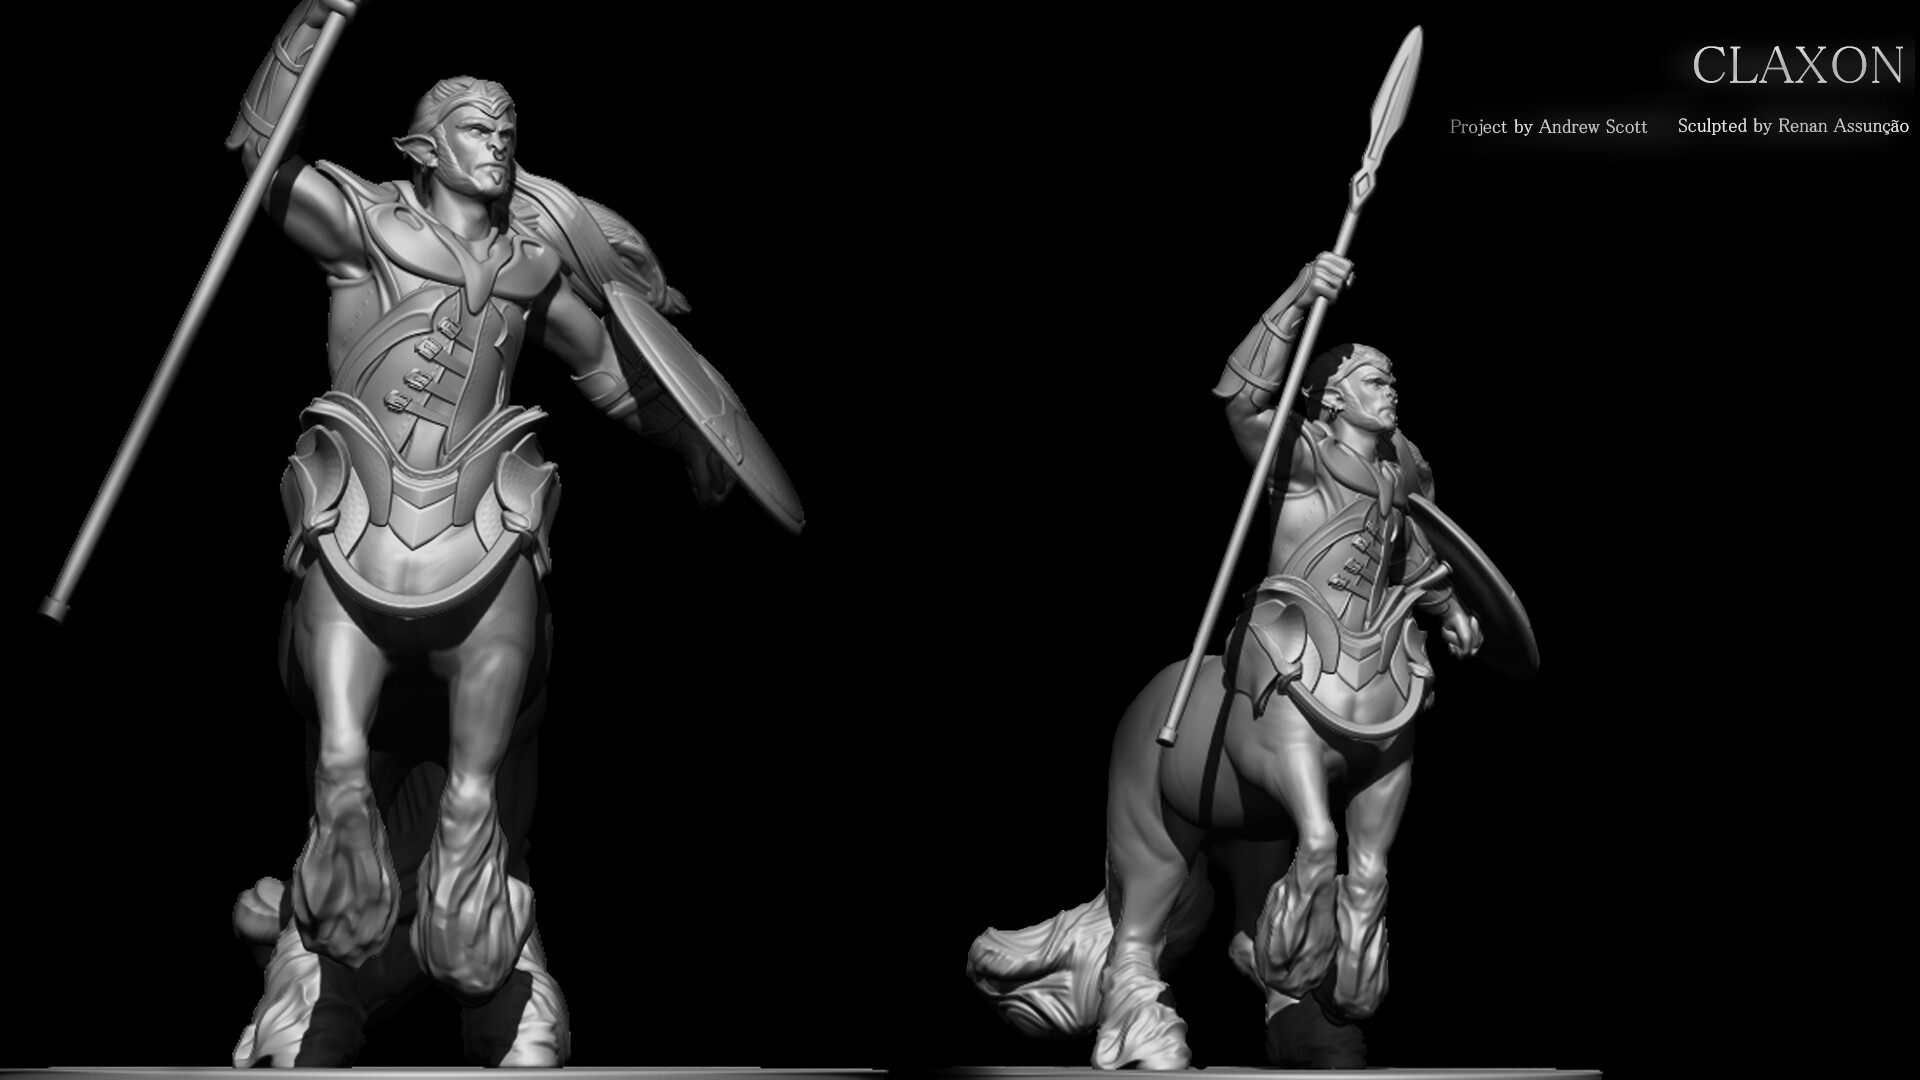
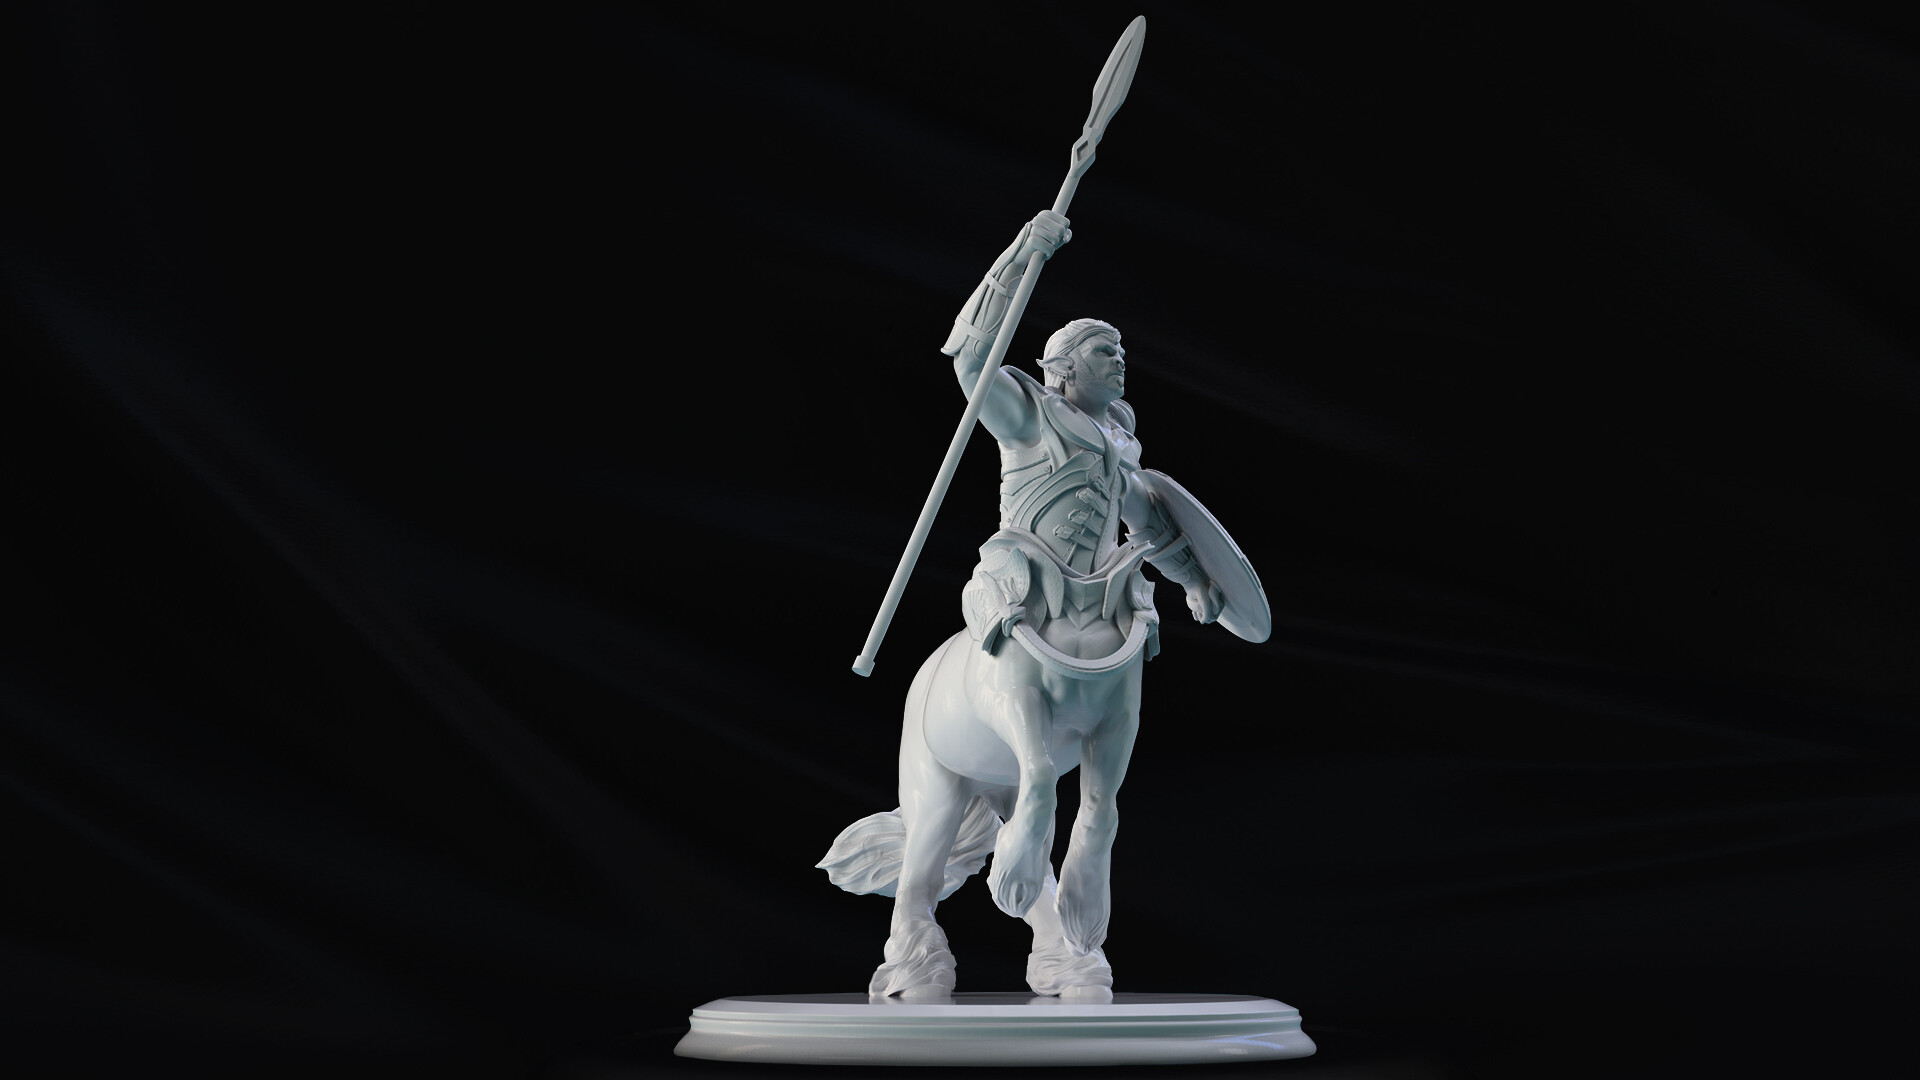
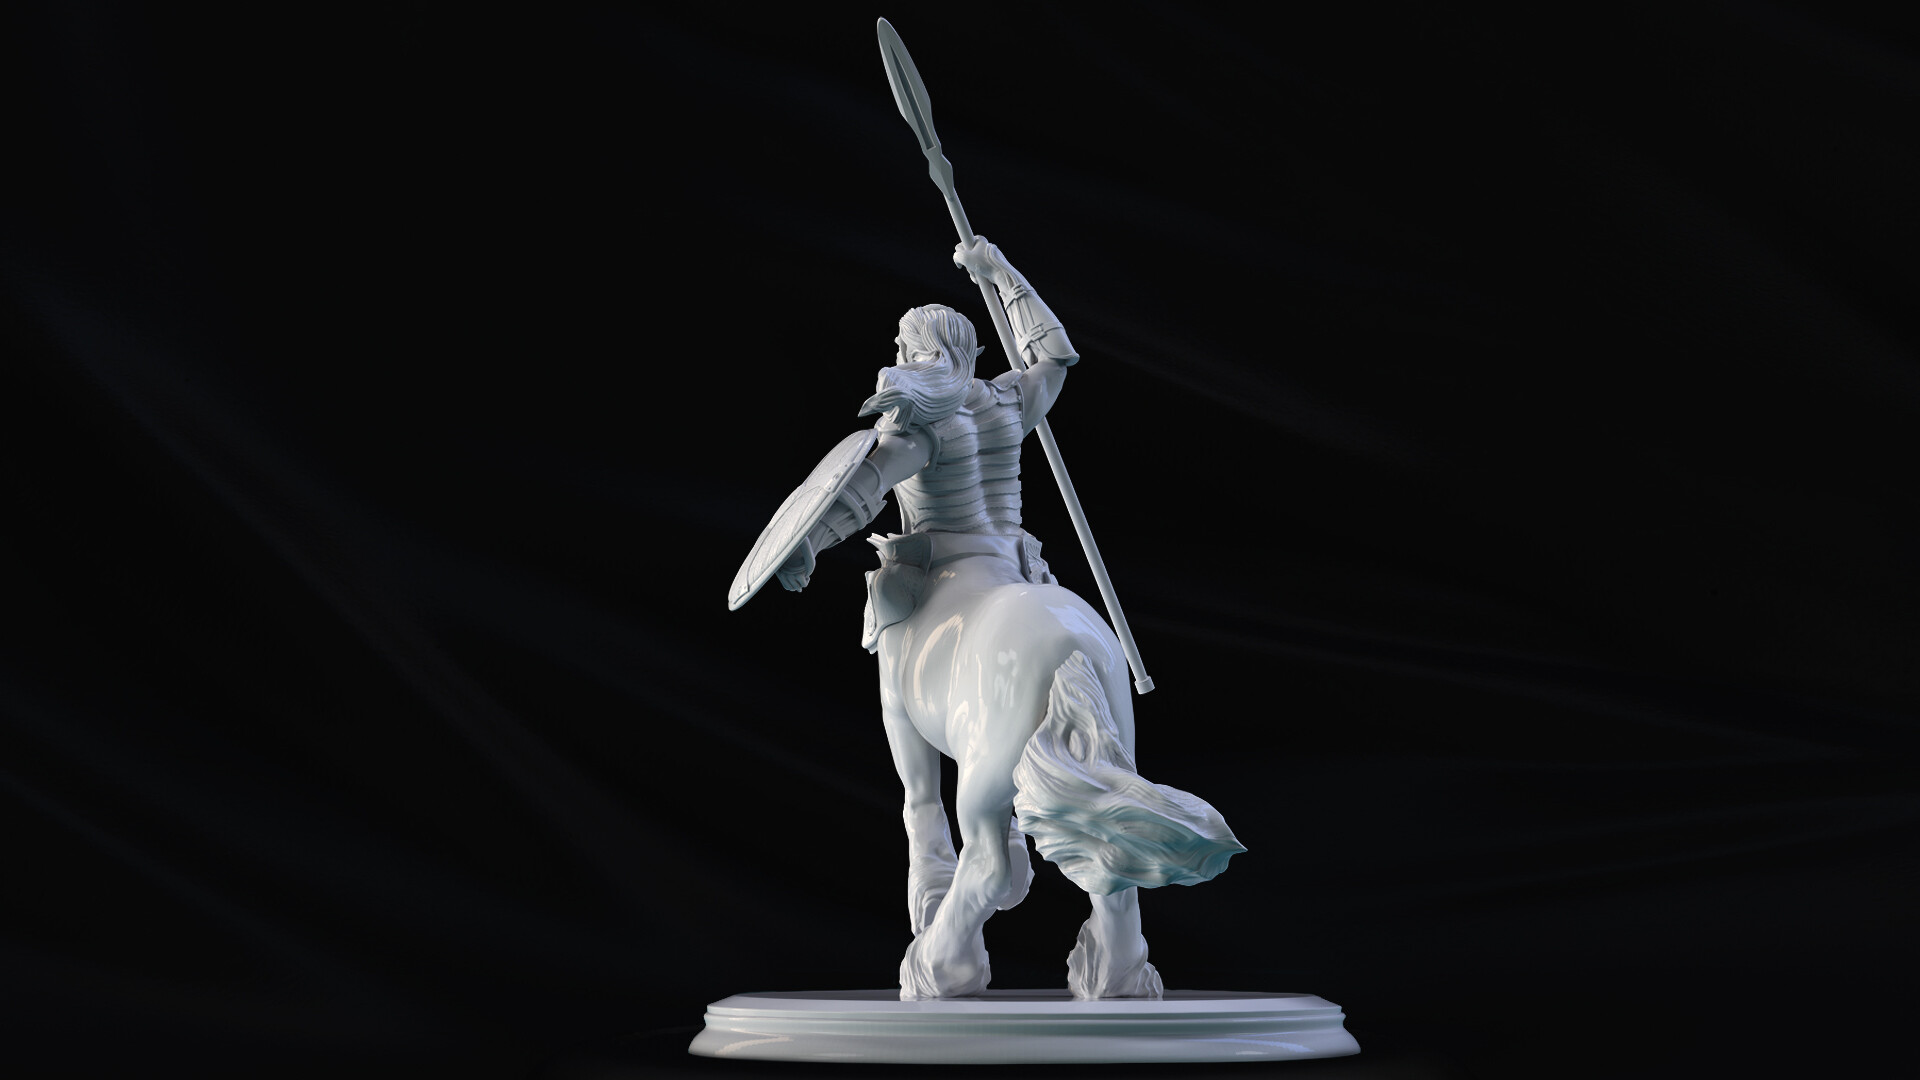
This is the workflow I use for customer models, every step of the process I send for an approval, be it in the blocking, detailing and rendering stages, so, let's take a look below! (Directed by Andrew Scott, a project for a Kickstarter.)

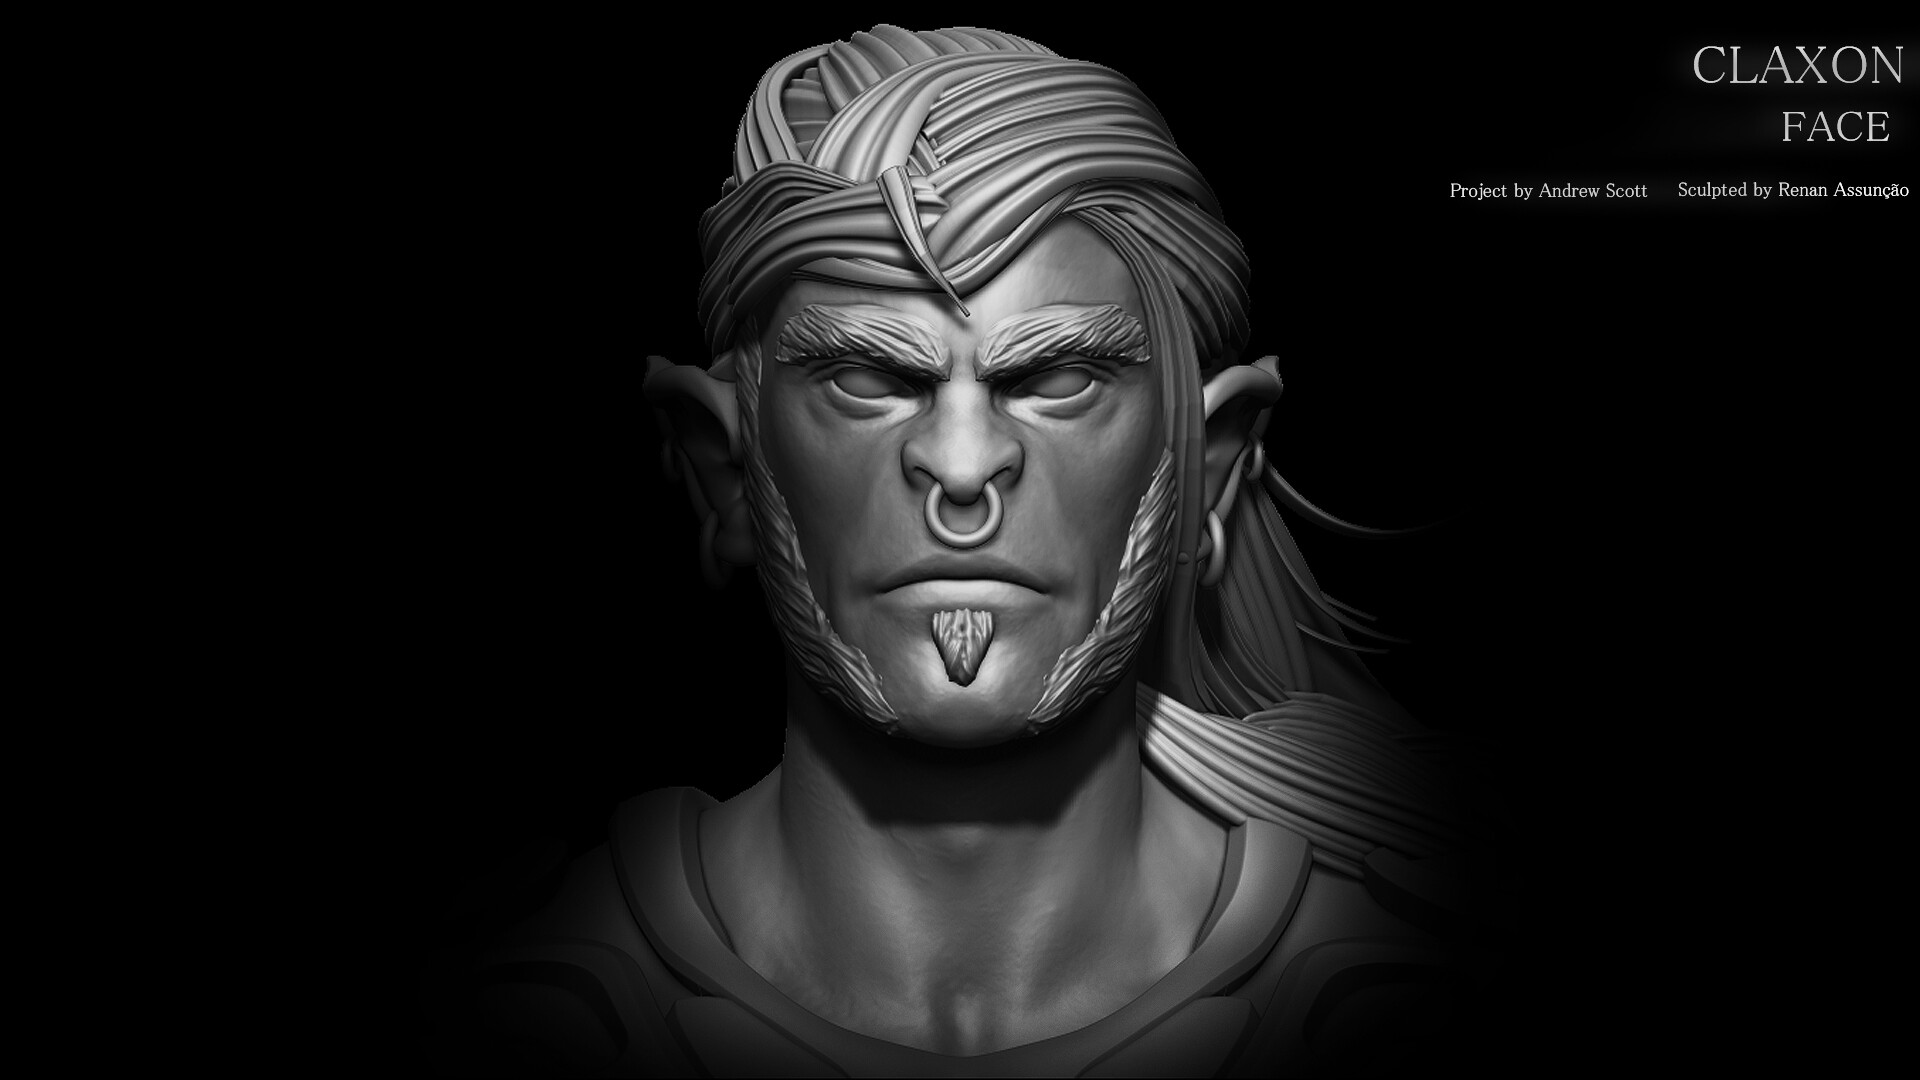
HEAD:
In particular in this model I choose to create the head as do initial, I make this decision in some of the models, when it comes to a mesh of hair or beard more specific. and saved in a ztl file, just when the body is blocked I give an append in the tools of the head to the body.

CONCEPT OPTIONS:


PRE RENDERS - APPROVAL:
After all changes made according to customer request, the images for final approval were sent before proceeding for last stage, export of STL files and rendering.

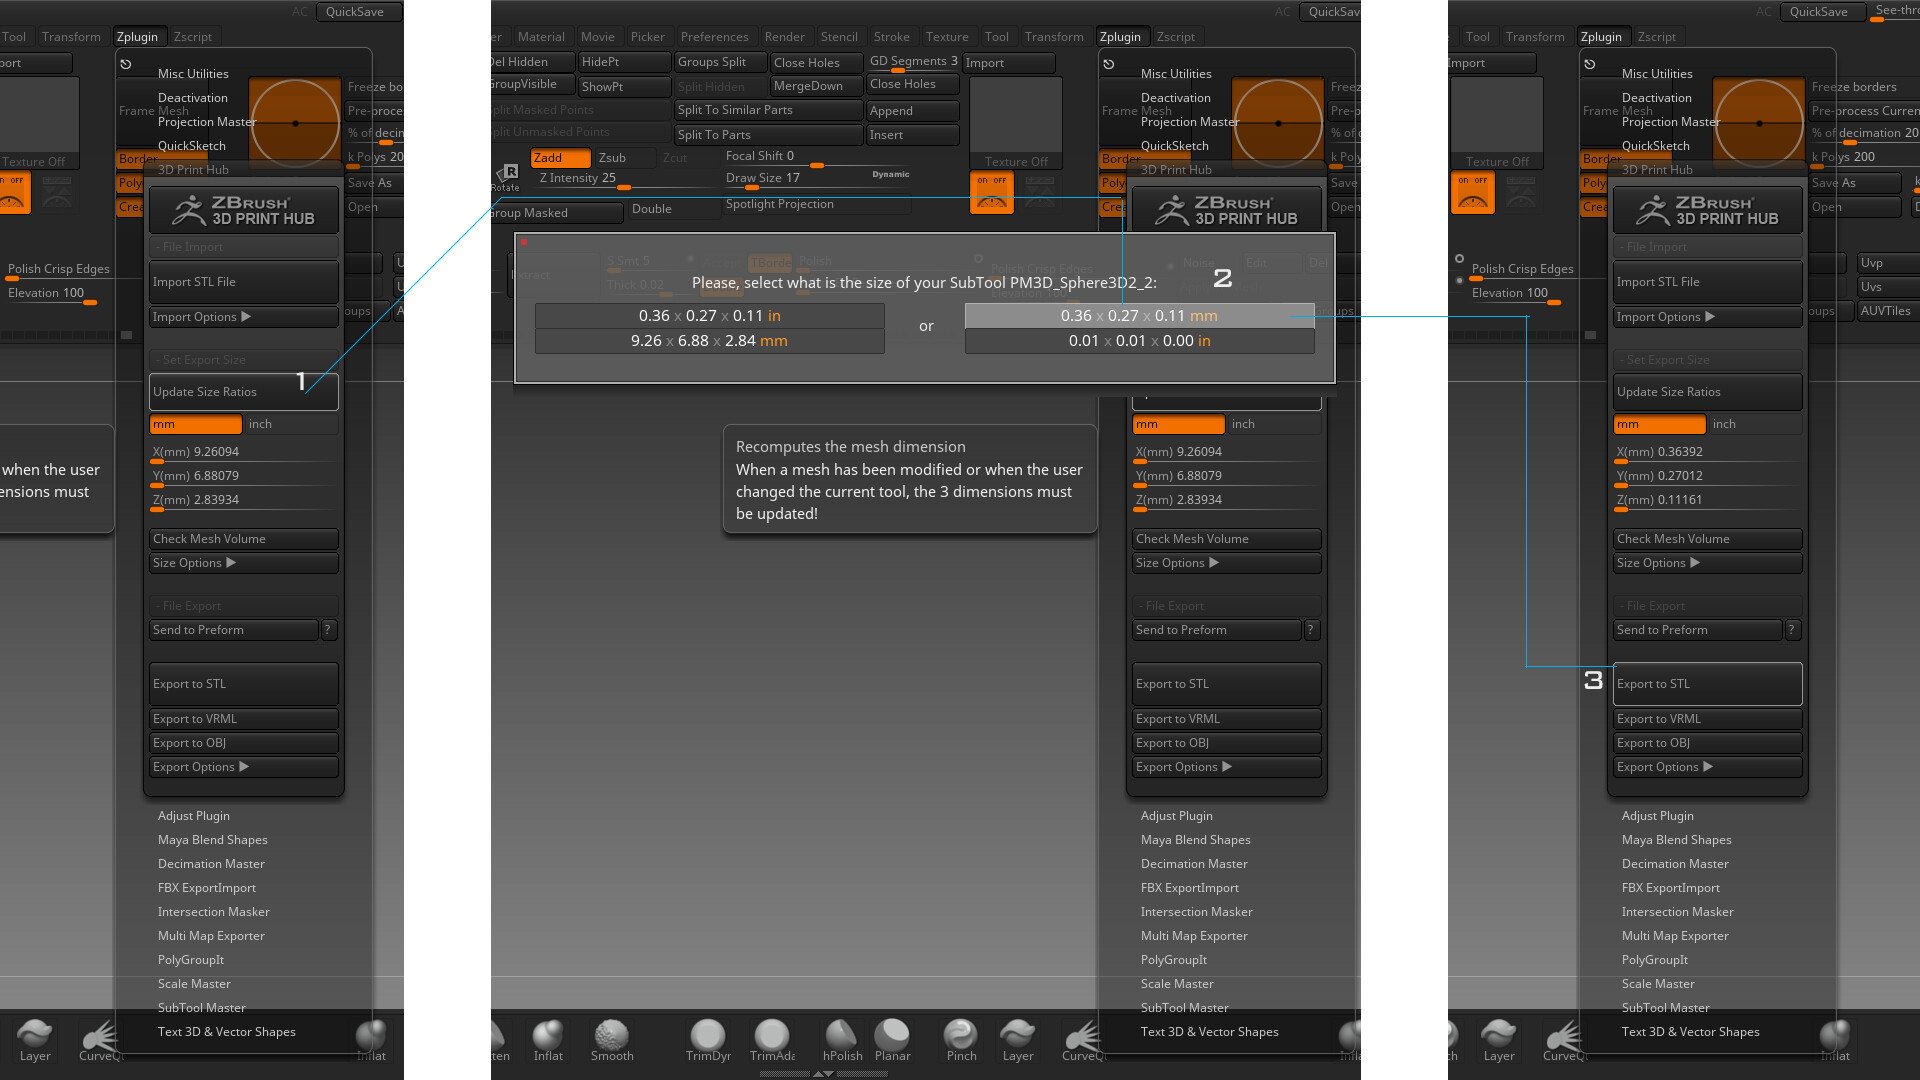
After making the decimagens of the parts, the final model exported is important that has up to 100mb, to not cause issues in the printing software.
The printing of separate parts of the model depends on each type of production, after receiving the order in which part the model needs to be separated, each file is exported as follows in the order of the image below.
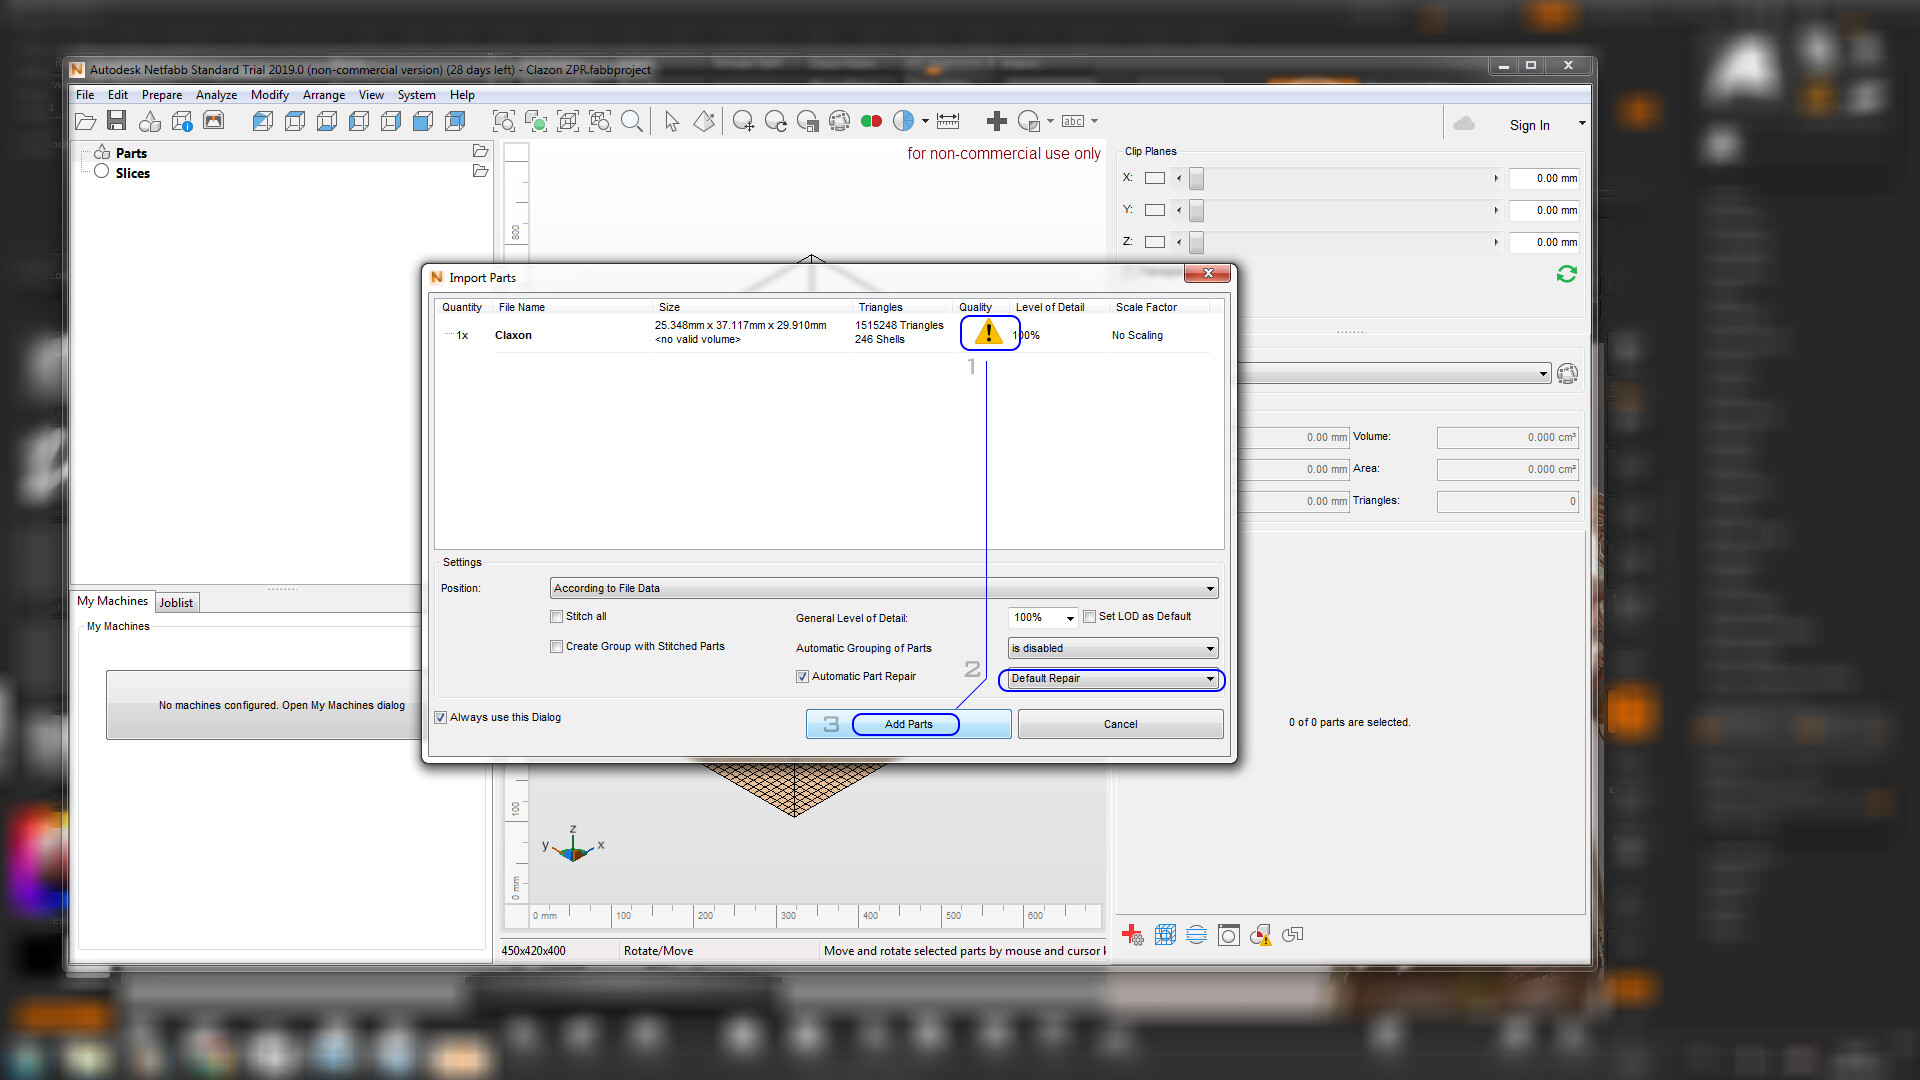
REPAIRING STL FILES:
After the STL file is exported, we will repair by leaving it ready for printing on the Netfabb software. When you load the mesh, the exclamation button indicates some errors, following the order of the image below, the software starts and completes the repair process.
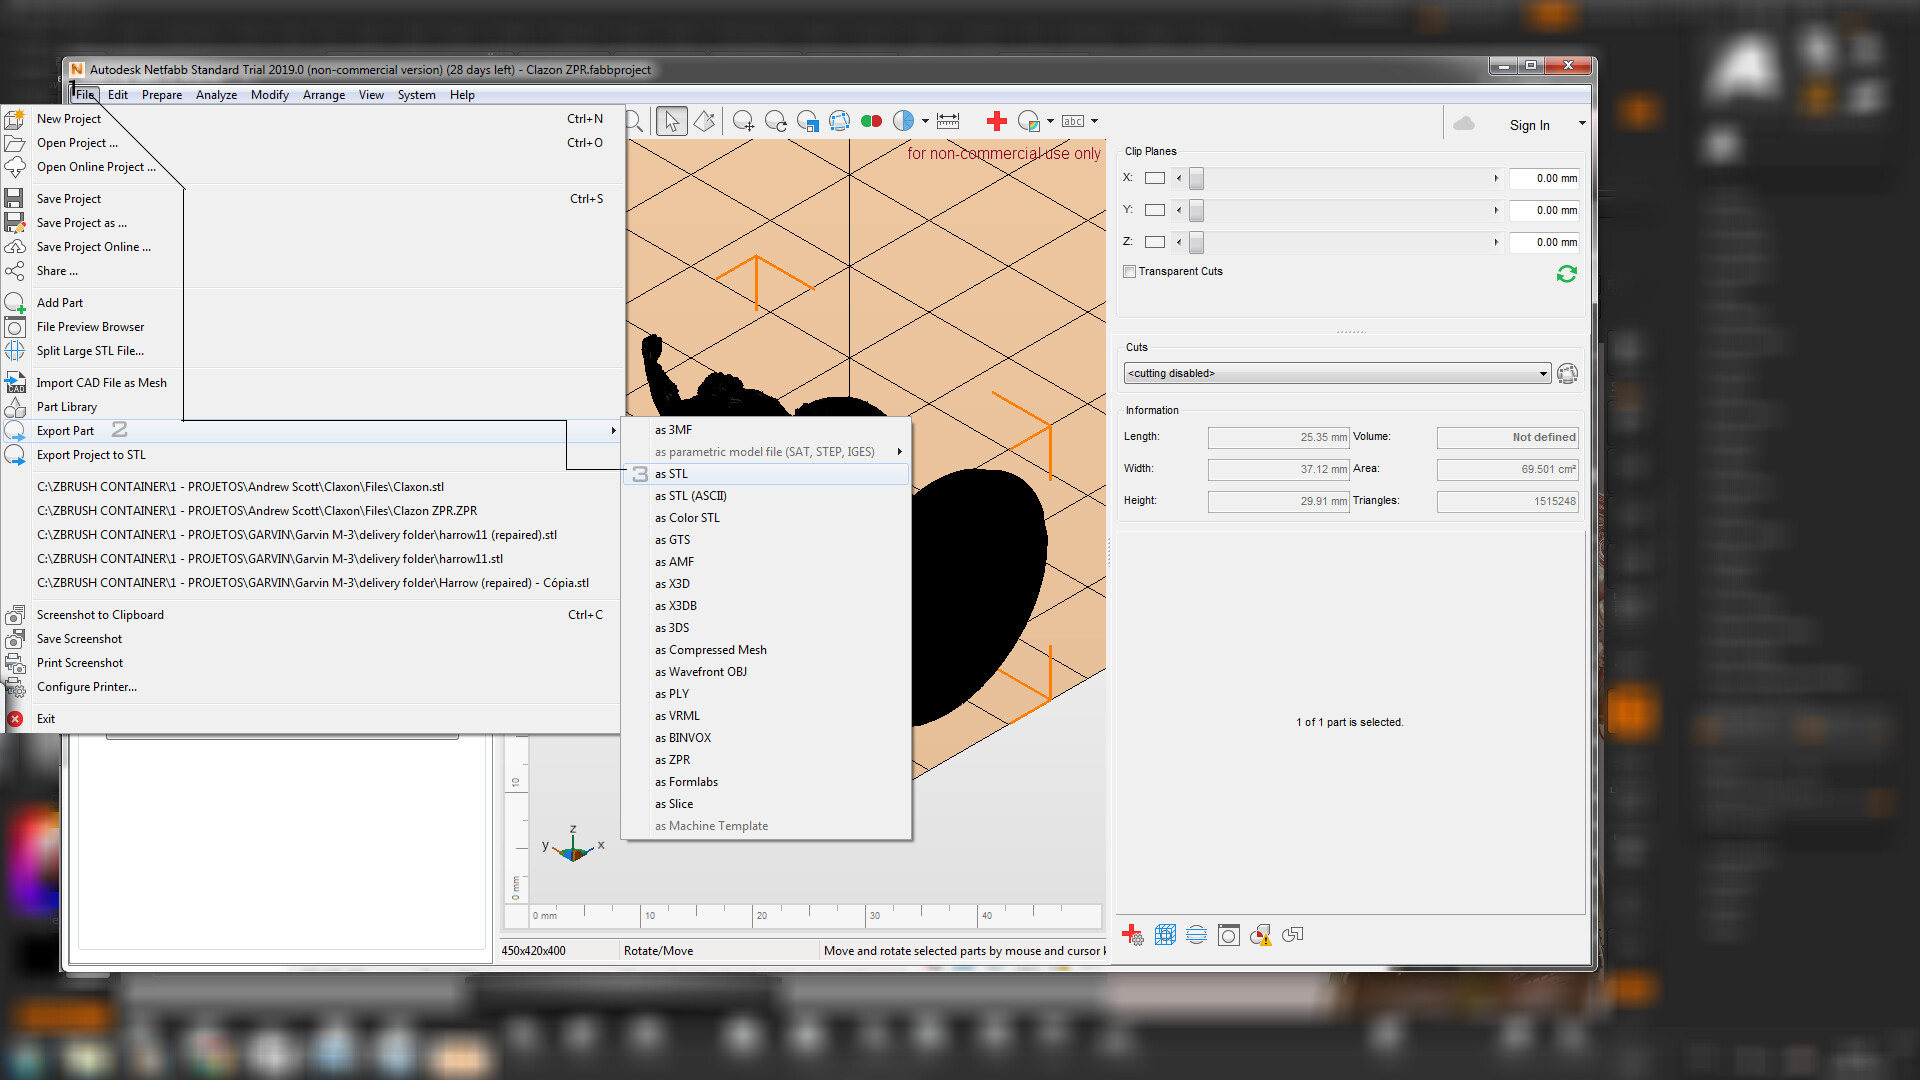
After the completed process, the file is simply ready to export and send to the customer to print the final product.
RENDER:
if you have doubts about projects, inquirys or support, this is the email contact.assuncao@gmail.com
Some of the brushs I created to make this work are in my store on the artstation (https://www.artstation.com/renanassuncao/store)
Hopefully helped you, and a Happy Artstation reading and Zbrushing!